
Muscles Used For Jumping are concentrated in the lower half of the body but your torso and upper limbs are equally important when preparing to Test Your Vertical or Measure Your Jump.
Most people want to jump higher because they harbor ambitions of Dunking A Basketball.
There are two important components when jumping to dunk. The first is the take off, which requires explosive power to be generated in the legs.
The second is what you do with your body once you are airborne. To address either of those things, you need strength and stability. Those are two things most likely to be achieved through weight training.
While this blog places emphasis on that weight training, we do not suggest that this be done in isolation. It should be done in partnership with plyometrics at the very least, if you wish to jump much higher.
Why Weightlifting Exercises Are Good For Jumping
There is compelling evidence that performing weight and kettlebell training, even when carried out in total isolation, will increase the height of your vertical jump.
Weight training increases maximal muscle strength in both the lower and upper body.
Weight training also increases power output in the body. Both of those facets are an effective measure of your vertical.
An effective weight training program will significantly increase your standing jump, countermovement jump and your half squat jump.
Also of significance is that an effective weight training program will increase your sprint speed by as much as 3.6 percent. On that face of it, that might not matter but increased speed is invaluable to those who seek an increased vertical, especially off the running jump.
Major Considerations For Weight Training

Safety And Potentially Fatal Injury
Most weight training exercises should be done with the supervision of a physical trainer or somebody a little more experienced than you. At the least it should be done with a partner, who can also act as a spotter.
Too Much Working Out (Burnout)
Resist the temptation to do more weight training than your body can handle. Your muscles need to recover from the previous training session before you start the next session. If you do too much weight training, time spent resting will not be enough to adequately recover. By doing only as much as your body can handle, you are also preventing muscle injuries.
Building Up Too Much Muscle Mass
In the context of the vertical jump, you want to be strong but also lean, agile and flexible. Putting on too much (bulky) muscle mass will actually hinder your progress in that regard.
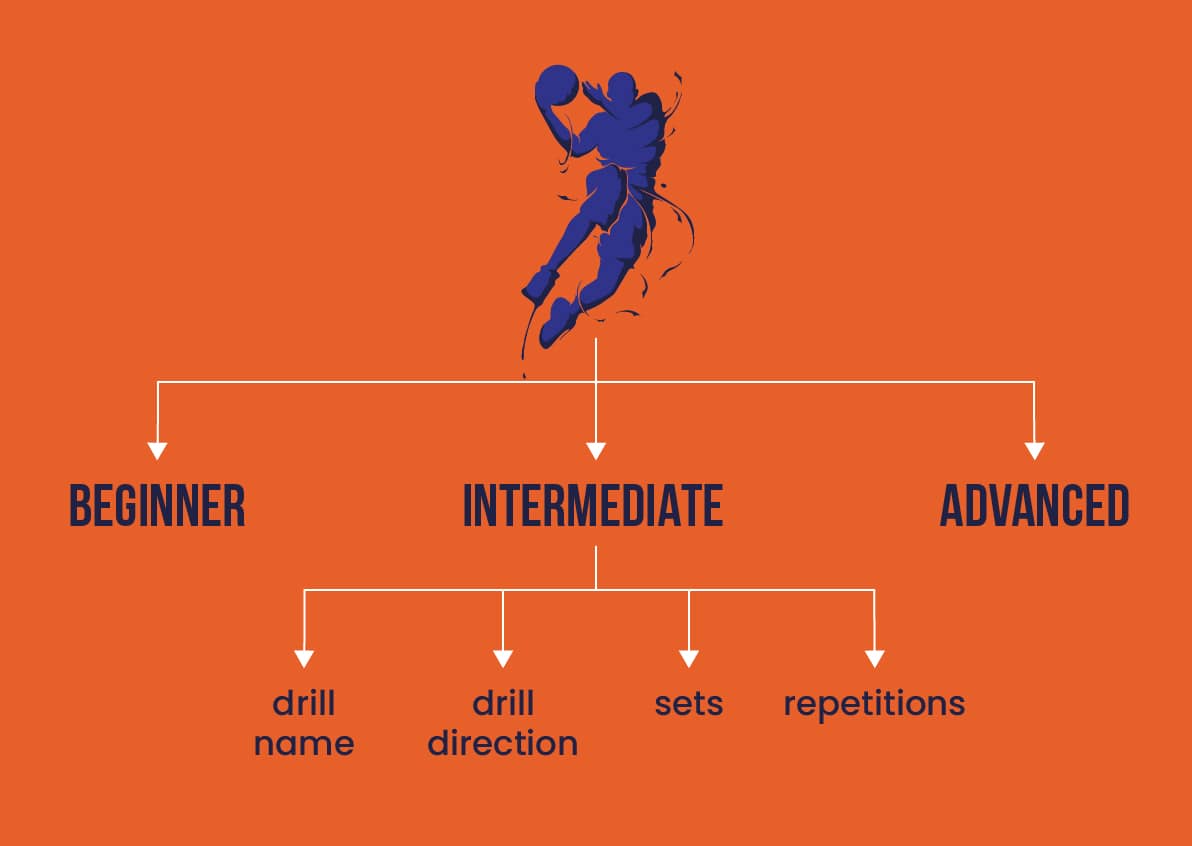
Beginner Workout
1- Drill Name: Lunges
Drill Goal:
- This Lower Body Exercise assists with the building, sculpting and strengthening of the quads, thighs, glutes and hamstrings.
Drill Direction:
Step forward with one of your legs.
Bend your knee to 90 degrees
Your back leg should be balanced on the balls of your foot during the lunge
Alternate legs during each set or session
10-16 repetitions of this are more than sufficient for a set and you can get away with 1-3 sets per session.
2- Drill Name: Bent Over Rows
Drill Goal:
- This Upper Body Exercise increases the capacity in your back muscles.
Drill Direction:
Lift one of your legs and place the knee on a bench.
Place the palm of the hand on the same side of the body on the bench, for additional support.
With your other hands lift the weight resistance up towards your ribs
Anything between 8-10 reps per session should suffice
3- Drill Name: Standing Military Press (Overhead Press)
Drill Goal:
- If you want muscular shoulders and big arms that rival those of Rafa Nadal, this drill is for you. It will also help you To Jump Higher.
Drill Direction:
Place the bar on your front shoulders
Push the bar up off your shoulders and above your head.
When you feel you are adequately balanced, you then stretch your arms right the way up. When you are at full stretch, lock your shoulders outwards.
You then start lowering the weight again, almost in the same way that you lifted it and place it on the rack.
4- Drill Name: Front Squats
Drill Goal:
- If you want stronger legs and hips, then the front squats are the perfect exercise to jump higher.
Drill Direction:
- Place the weights on your shoulders
- Once the weight has been balanced on your shoulders and you are satisfied, you can start moving your body down into a squat position.
- With this routine, you are actually dragging your body weight lower than 90 degrees
- Once you have gone as low as you can, you will then drive your weight back up again. Again, it is a simple routine, which is why we have placed it under beginner but some things can go terribly wrong. Please consult a trainer or somebody a little more experienced before you try this at home.
Intermediate Workout
5- Drill Name: Step-Ups
Drill Goal:
- This is an outstanding workout for the buttocks and hamstrings. It can also be classified as Plyometrics.
Drill Direction:
Weights in hand, take that step up onto the box, one foot at a time
Then bring your opposite foot up on the box
Whichever foot you used to step up first, is also the foot you will use to step down, backwards.
Anything in the region of 15 steps for each leg should be more than sufficient for each set.
Try and do anything in the region of 3 sets per session.
6- Drill Name: Good Mornings
Drill Goal:
- The drill strengthens the muscles that straighten and rotate the back - with particular emphasis being placed on the lower back. The glutes and hamstrings also benefit from this drill.
Drill Direction:
- Start this drill with the barbell carefully placed on your back shoulders or behind the head. Your arms are just support, so it is your back that should be carrying the weight from the outset with this drill.
- The next move will be to bend your torso forward slowly and slightly at first. Keep your back straight - as if you were bowing for a noble family or after a classical performance at the opera. The important detail here is that the flex should be at the hips.
- Once your torso is almost parallel to the ground, you should then lift it up again. That would constitute one rep. Do not round your back and do not rotate your back for the duration of this routine.
7- Drill Name: Reverse Hyperextension
Drill Goal:
- To increase power and strength in the hamstrings and the glutes, which contributes to a Higher Jump In Volleyball and Basketball.
Drill Direction:
Lift your legs, which remain straightened throughout the routine. By the time the legs (hips) are at full flex, your body should be pretty level.
Then lower your legs again. That would constitute one repetition of this drill.
You can get away with performing 3-4 sets per session. Each set should constitute anything between 8-10 repetitions.
8- Drill Name: Bench Press
Drill Goal:
The drill uses the set of rounded muscles around the shoulders, the muscles on the upper arms and the triceps. You will also see significant progress in the size of your chest. Think of your typical professional swimmer.
Drill Direction:
The best way to go about this is to have a barbell placed on a rack, which will be just ahead of your shoulders while you are lying down. With the assistance of a spotter or personal trainer, you will then lift the barbell from that rack.
Having grasped the barbell with both hands, you will then lower it towards your chest.
Then press that barbell upwards, using the strength of your arms. Keep pressing until your elbows are locked out.
That would constitute one rep. We suggest completing 5 reps per set and 5 sets per session.
Advanced Workout
9- Drill Name: Single-Leg RDL
Drill Goal:
- Helps develop power in the legs for jumping, especially if you are somebody who plans to spend most of his time jumping off one leg. That power will be generated in the glutes and in the hamstrings.
Drill Direction:
Lift one of your legs and balance on the other. You should be balancing on the leg which is opposite to the hand in which you are carrying the weight resistance
Also carry the weight slightly in front of your standing thigh
Straightening the free leg and slightly bending the standing leg, you should then start to bend (flex) at the waist (hip). Do not break the form in your back - keep it straight.
When the dumbbell is halfway down your shin (sometimes a little lower than that), you should drive your hips back up into a standing position again. Use your heel to force that motion up.
10- Drill Name: Incline Press
Drill Goal:
A drill made for stronger chest, triceps and shoulders.
Drill Direction:
Sit on the inclined bench and lean back until your back is resting on the bench.
Hold dumbbells in both hands. Easier to grip and lift when one is seated we think.
When you are ready to perform the drill, your hands should both be at your shoulders, or just above them
Make sure that your elbows are bent. If they are not facing down, there is something wrong with your elbows.
Push the dumbbells straight up until your elbows lock out.
Then start bringing them down slowly back to your chest. That would constitute one rep.
12 reps would be awfully grand for one set. 8 sets per session should cut the mustard.
11- Drill Name: Two Arm Dumbbell Row
Drill Goal:
To work out the upper back and shoulder muscles.
Drill Direction:
You would start this drill by holding a dumbbell in each hand. Your stance should be about shoulder-width apart and you are best off holding the weights with the hammer grip.
Keep your back straight but flex your hips and bend your knees. Your back will not be at a 90 degree angle but it will be close
Pull the weights directly up your side, up to your hips or waistline
Then lower the weights to their starting position, where your shoulders should be fully stretched downwards. That would constitute one full rep
12- Drill Name: Standing Kettlebell Press
Drill Goal:
To increase strength in your shoulders.
Drill Direction:
Start this drill in a standing position.
Once you have the kettlebells in a front rack position, you can then press the bells upwards until your elbows are locked out. That is to say, full stretch.
Then lower the bells slowly. That would constitute one repetition. You don’t need to do more than 10 reps per set. Nor do you need to do more than 8 sets per session. It is a tough workout.
Conclusion
When performing most the drills we have suggested here, there are several constants to be aware of - we have highlighted them along the way.
All of them center around safety and to some degree comfort!
The safety element is more paramount to us. Weight training can be very dangerous, if you aren’t clear on what you are doing.
We have pointed you in what we feel is the right direction but strongly suggest that you have somebody more experienced with you when you try any of these out for the first time. Of particular concern to you should be your form, your stance and the grip. Getting any of those three wrong can ruin your life forever. This is not a joke!
If these exercises are done right, you can achieve outstanding results very quickly! You can also expect your body to be much better equipped to increase your vertical jump because your core will be so strong.
Finally, do not be a cowboy and rather avoid the temptation to go for the heavy weights straight away. Everything you do with weight training is gradual and you should start from as low a base as possible. Safety first and the results will sort themselves out.
Hey, I’m Aleksandar and I am a Basketball freak! That is why I decided to create this blog. Teaching people How to dunk a basketball and How to Jump Higher in this sport or other related sports that require vertical jumping, is my specialty. If that’s your aim, then you have come to the right place.